Price Increase on Miraco and Ritchie Waterers April 1st.
SHIPPING - All products ship within the same or next business day unless noted.
NORMAL Shipping takes between 2-5 days, Freight 1-2 weeks. Need a freight quote on large items? Click Here.
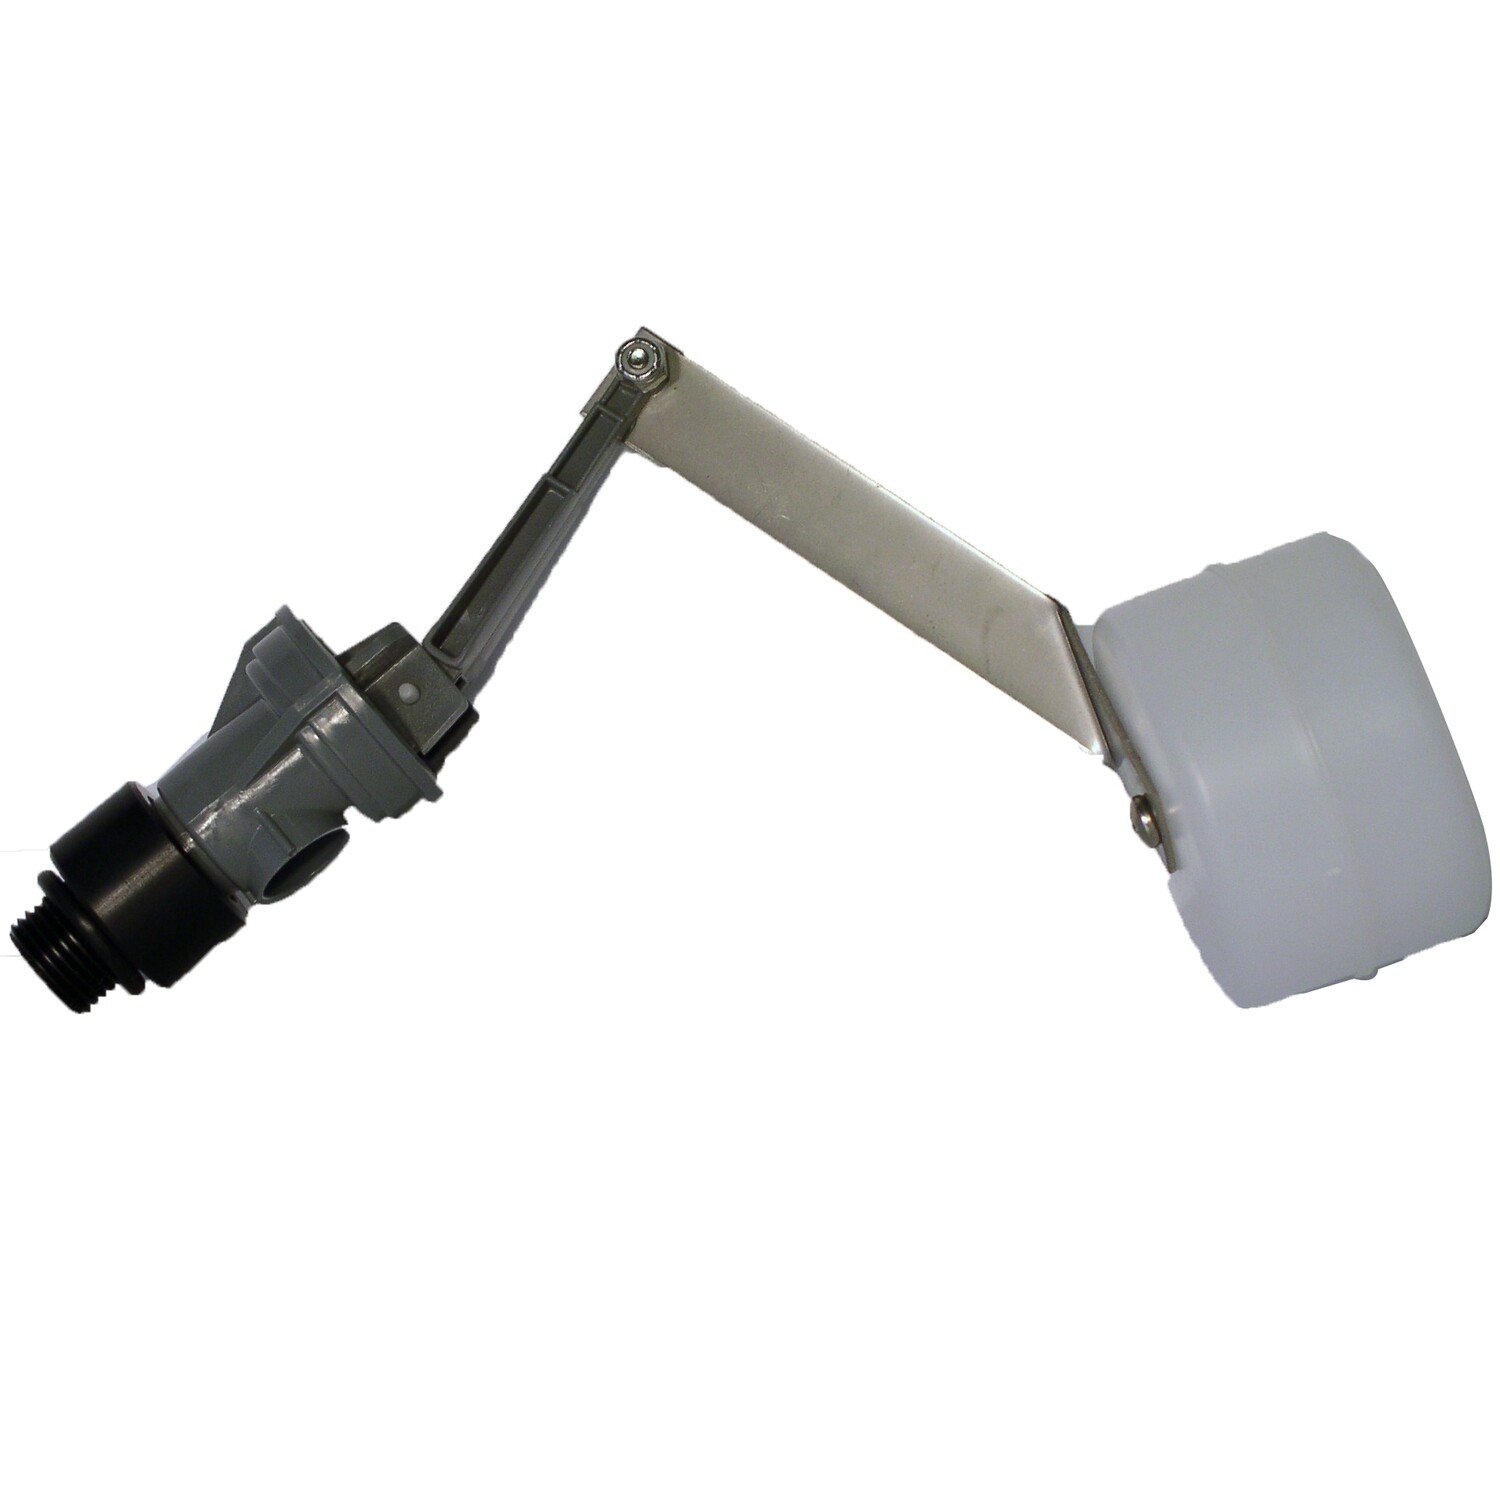
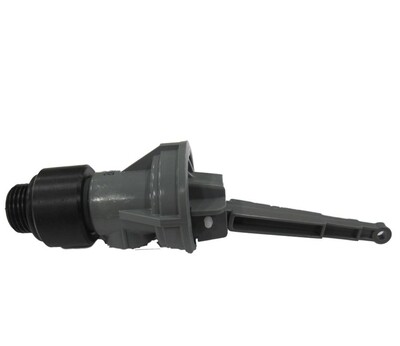
JUG Complete Float Valve Package, part 10710
The basic float valve for the Jug automatic waterers will help provide water on demand to your waterer. Package includes the complete float and valve replacement.
| Flow Rates for the JUG's (Fluidmaster) Float Valve | |||||
| Static Pressure (PSI) | 3 | 7 | 15 | 43 | 73 |
| Flow Rate (Gal/minute) | .5 | 1.5 | 2.5 | 5 | 6 |
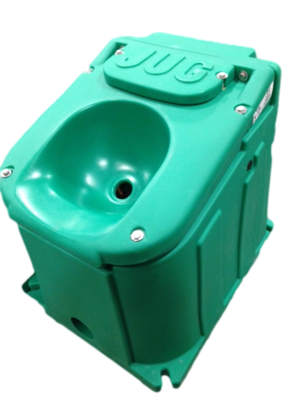
The Fluidmaster Float Valve used on the JUG Livestock Waterer is among the most reliable, trouble-free valves available today. Because of the precision qualities built into the valve, it is to your benefit to see that at the time of installation your water supply is clean. Please follow these guidelines to ensure proper installation.
1. Flush sufficient water through the water line before attaching the waterer's float valve
2. Attach the Float Valve to the waterline.
3. Turn on the water supply.
4. Let the reservoir fill a few times.
5. Turn off the water supply.
6. Remove the Front half Float Valve. This is done by giving the tabs at the base of the gray arm a 1/4 turn counter clockwise and removing it from the base of the valve.
7. Remove the rubber Diaphragm from the stainless pin and wash all components. Reinstall the Diaphragm on the stainless pin.
8. Reinstall the Front Half Float Valve by placing it back into the Float Valve Base, and turning it 1/4 turn clockwise.
9. Turn on the water supply
10. We recommend that you do this procedure a few times. If you still experience dripping water, you follow the steps again.
11. Also, check the water fittings and connections for leaks.
By following these instructions you should realize the trouble-free performance of the JUG Livestock Waterer that customers have come to expect over the years.


